Showing posts with label Acrylics - Airbrushed and Hand Painted. Show all posts

Saturday, October 4, 2014

Creating a Flaxen Liver Chestnut - Part Three

Here's what you need:


  • brushes or q-tips for applying color
  • horse
  • reference picture
  • matte acrylic sealer
  • Brown 610 or a reddish brown pastel
  • Chocolate brown pigment or pastel 
  • Dark chocolate brown pigment or pastel
  • Black pigment or pastel
To shade the horse, I created a mix of the chocolate brown pigment, dark chocolate brown pigment (pictured below), and black pigment. This crests a dark brown, almost black mixture.

Final picture
Next, apply three to four layers of the pigment mixture.


After the dealer has cured, apply brown 610 around the outer edges of the shading. Apply and blend the darker mixture and seal the layer. This creates softer line of delineation between the shading and base color. 


After that has cured, alternate between black and white pigment on the muzzle, the eyes, and the genital area. The method I use for creating a flaxen mane and tail is depicted in these two videos by K Smith Equine Creation -

If y'all have any requests just post them in the comments!

Thursday, June 19, 2014

How I do White Markings

The video is finally done! Please excuse my voice - allergies are really annoying this year. So without further adieu...How I do White Markings

I hope this helps!

Friday, June 13, 2014

It Has Begun!

....White markings that is! The first layer is sealed in. Right now I'm waiting for it to cure a bit before I start the second layer, though it may not be sprayed in anytime today due to the rain and humidity. My video is also in progress. 

I probably won't post tomorrow because I have the ACTs. So happy weekend people!

Monday, June 2, 2014

Sales Piece Update

Gasp, what is this sorcery? Two posts in one day! So I've been busy today working on the whites on my sales piece. I tried out the technique of using a prismacolor to draw and color in the markings for the first couple of layers. So far I like it! Its faster and produces smoother results.
I started out with a really crazy pinto pattern which can be found in the first picture. I started to fill it in because I didn't like the way it looked. The final pattern can be seen in the third picture. He just needs a couple more layers and then I can start in on the detailing!
 
first layer of paint

beginning the second layer

second layer finished and sealed in


Monday, July 1, 2013

How I do a Bay in Pastels and Pigments Part 2


So in Part 1 I showed you how I do the base color and shading of a bay horse. In this segment I'll show you how I do the black points, grey points, and details.

Supplies Needed
  • black paint (craft or artist quality)
  • burnt sienna
  • burnt umber
  • black pigment or pastels
  • titanium white pigments or pastels


First comes the black points on the legs. This first step is optional. First you take black paint (I prefer artist quality because I can get better results. You can use a craft brand too - whichever you prefer.) Thin the paint down to a milky consistency. 


Next paint the pastern and fetlock the darkest thinning the paint until you can barely see it below the knee.


Let the paint dry thoroughly and seal it in. This step helps achieve the look of the darker fetlock and pastern. It also makes the black look more blended. You don't have to do the step, but if you're like me and impatient to get on to detailing when you finish the base coat it speeds it up nicely.

The next step after the sealer cures is to start your first layer of pastel or pigment. I use two shades of black - Vine Black and Black for Fresco. Vine Black goes down less heavy so I use that near the top of the knee and the bottom of the forearm so it will blend easier. Black for Fresco is used on the fetlock, pastern, and canon where it is darker.

First layer of pigments
   
Fourth layer of pigments
 Final layer of pigments
Next I move on to the grey parts. First I put down a layer of of black pigment and seal it in. Then I put down a layer of white, the seal it in. Alternate until you get it solid and to the color you want. I use this technique for the eyes, muzzle, ears, and genitalia. If you get any black sealed in where you don't want it, just wait for the sealer to cure and sand off the black. Seal it and that should take care of any frosting that occurred because of the sanding.
First layer

Final layer
In order to get a soft black for the mane and tail, I mix together burnt umber, burnt sienna, and black acrylics. To shade in the crevices I use a mix of burnt umber and black.

Not the horse I've been using but I've used the mixture
on this horse
I will go over how I do eyes, hooves,and white markings in separate posts. 

Saturday, July 14, 2012

How to Paint Shell Hooves

So after a long day of horse fun with my friend Kristian of Five Paws Studio I have decided to do a tutorial on how to do shell hooves. You need 1) Flesh Tone acrylic 2) White acrylic 3) Burnt Umber acrylic 4) Burnt Sienna acrylic

First you paint the hooves flesh tone


As you let that dry mix together 1 part burnt umber, 1 part white, to 2 parts flesh tone. This should be only a few shades darker than the original flesh tone color.


Paint the mixture on the hooves, don't worry if you don't paint all of the hoof. It should look similar to this-


Next paint the hoof with thinned down white, then stripe it with thinned down flesh tone and burnt sienna. Wash, rinse, and repeat until you achieve your desired striping affect. Next you'll take thinned burnt umber to do the vertical striping. It should look something like this-


Detailed hooves can make or break a custom in some cases. I hope this how-to helped you with this.


How I Airbrush a Chestnut part 2

What you will need 1) Black pastel 2) Burnt Sienna pastel 3) Burnt Umber pastel 4) White acrylic 5) Paint Brush

First lets go over shading -- I have yet to figure out how to properly shade with an airbrush, so as I try different techniques I use a mixture of different color pastels to shade. I mix together black, burnt sienna, and burnt umber pastel in a cup. Then I choose which muscles to define -- this is a personal preference of mine, you can define all muscles if you'd like.

It should start out like this-

And after you shade it should look like this-


 Now since your using pastel make sure to seal with acrylic sealer- I use Krylon.

Lets go over white markings- I like to use artist quality brushes and paint. The brushes are less likely to leave brushstrokes and hair in the paint. The paint has more pigment in them so when you thin the paint down you get more color.

You should thin the paint down to the consistency of skim milk, when you lay the paint down you should still be able to see the color through the white.


After this you keep painting layers of white until it is solid and has no visible brush strokes.

after about 10 more layers of white
You don't need to seal between each layer unless you feel the layer before it pulling. After your done with the white all you have to do is the mane/tail, hooves, and eyes.

I will cover how to do the mane/tail, hooves, and eyes in separate posts. If you have any tips on the content covered here feel free to comment in the comment section.

Wednesday, July 11, 2012

How I Airbrush a Chestnut part 1

Hi all! Have you ever wondered how to airbrush a red chestnut? Here is how I do it (there are probably a hundred more ways to do this, but this is the easiest way for me).
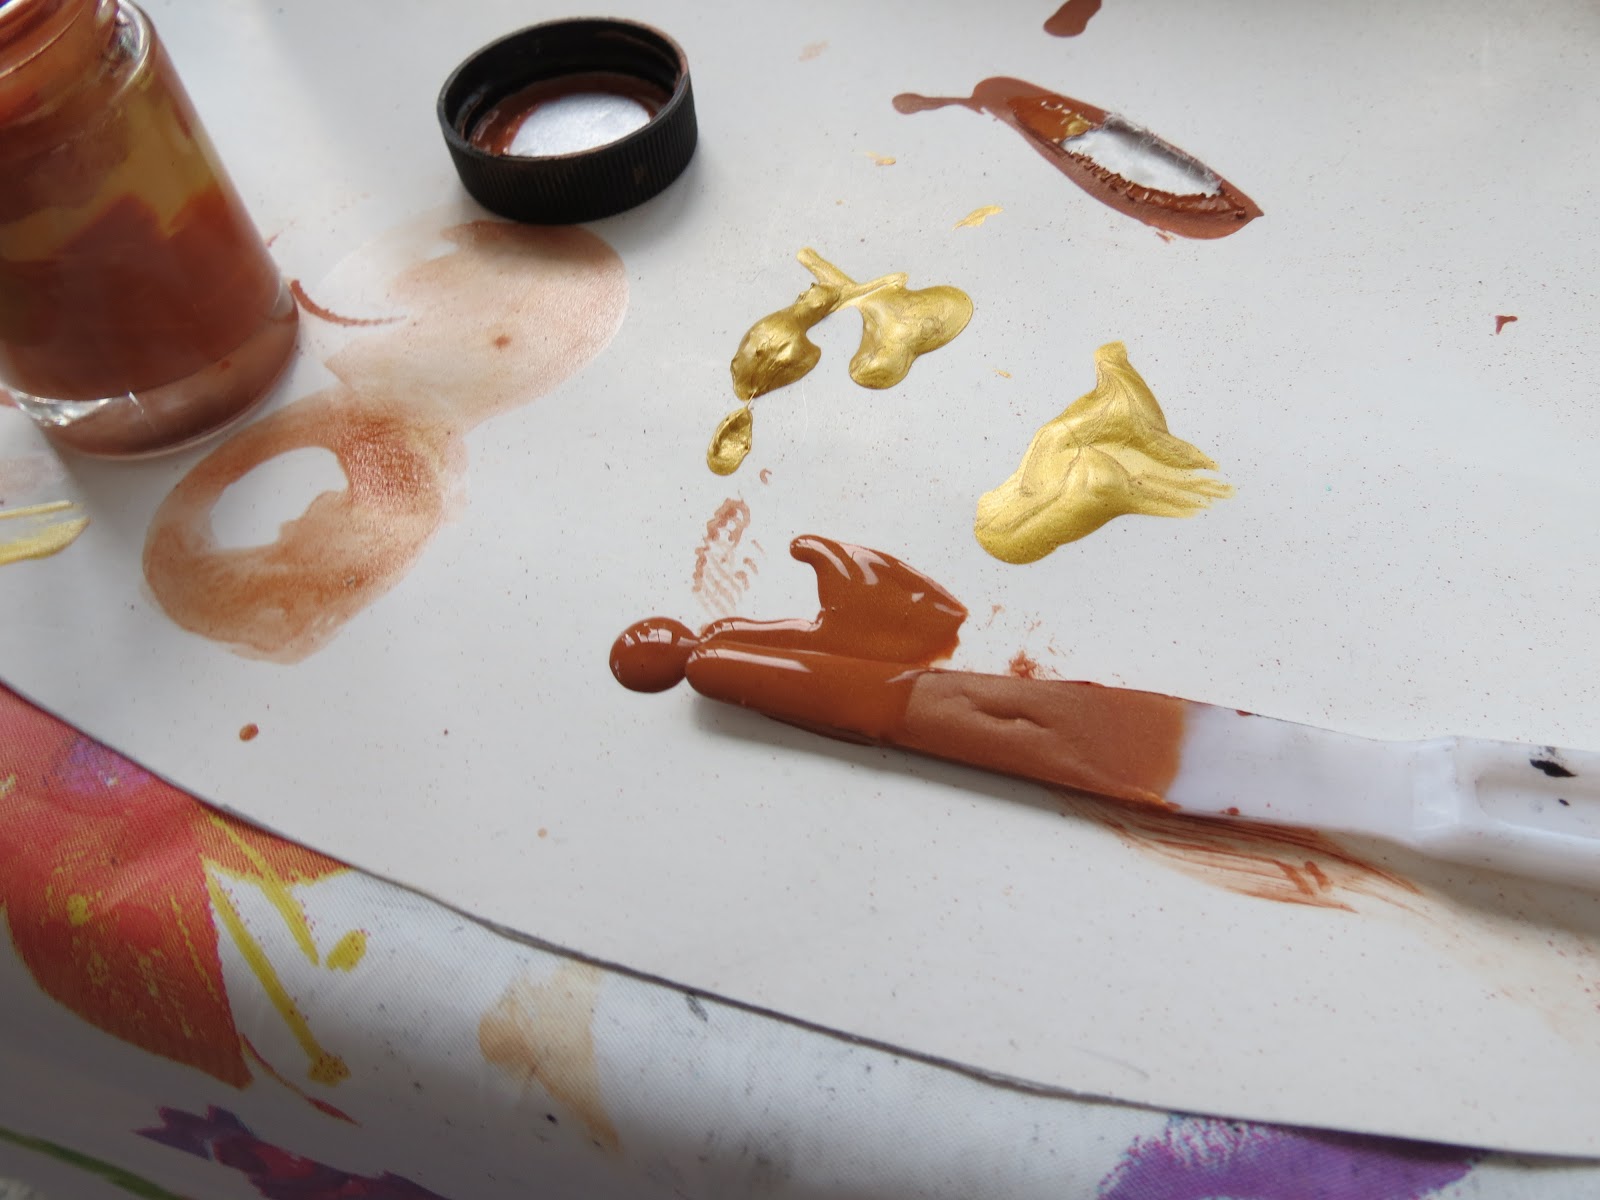
Here is what you need 1) a prepped horse 2) an airbrush (I use the badger brand) 3) compressor/air cans  4) Burnt Sienna acrylic paint 5) Metallic Gold acrylic paint 6) Liquitex Airbrush Medium (you can also use water)


Start out with a nicely prepped horse, in this case my in progress sales piece American Saddlebred Breyer Stablemate.

having a turntable that is usually used for cakes is very helpful too


Mix together equal parts the Burnt Sienna and Metallic Gold in your airbrushing jar, it should fill about 3/4ths of the jar.

black line is where paint should stop


Fill the the jar the rest of the way with the Liqutex Airbrush medium, and mix with the paint. It should have a consistency of  Heavy Whipping Cream.
what the bottle looks like


I find the metallic make the color glow


Airbrush one or two coats, and seal

your coat color is done!


Part 2 will be up in a couple days-it will cover how I do my shading, whites, and detailing.