Showing posts with label Sculpting and Prepping. Show all posts

Sunday, July 12, 2015

Its Prepping Time!

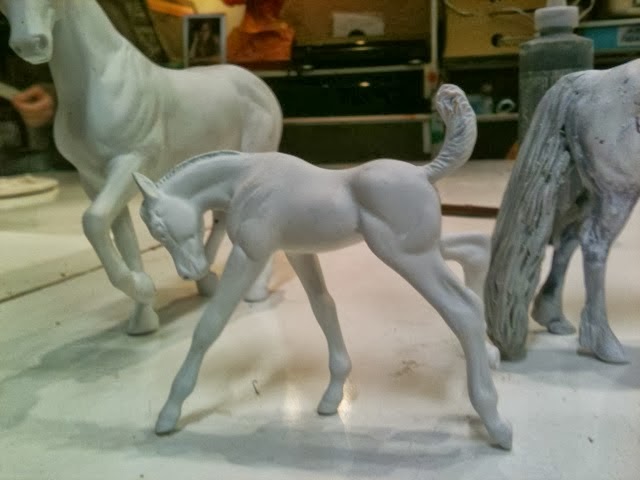
So the last time we saw Swimmy was when he was getting his fins and quills. I've made a lot of progress on him since then. He's gotten his ears and mane, and now it's time to prep him!

For the purpose of these photos I stuck him on a paint brush to give him the floating effect he'll eventually have.


This one has a lot of prepping to go through, so wish me luck!

Tuesday, May 19, 2015

Progress on Swimmy

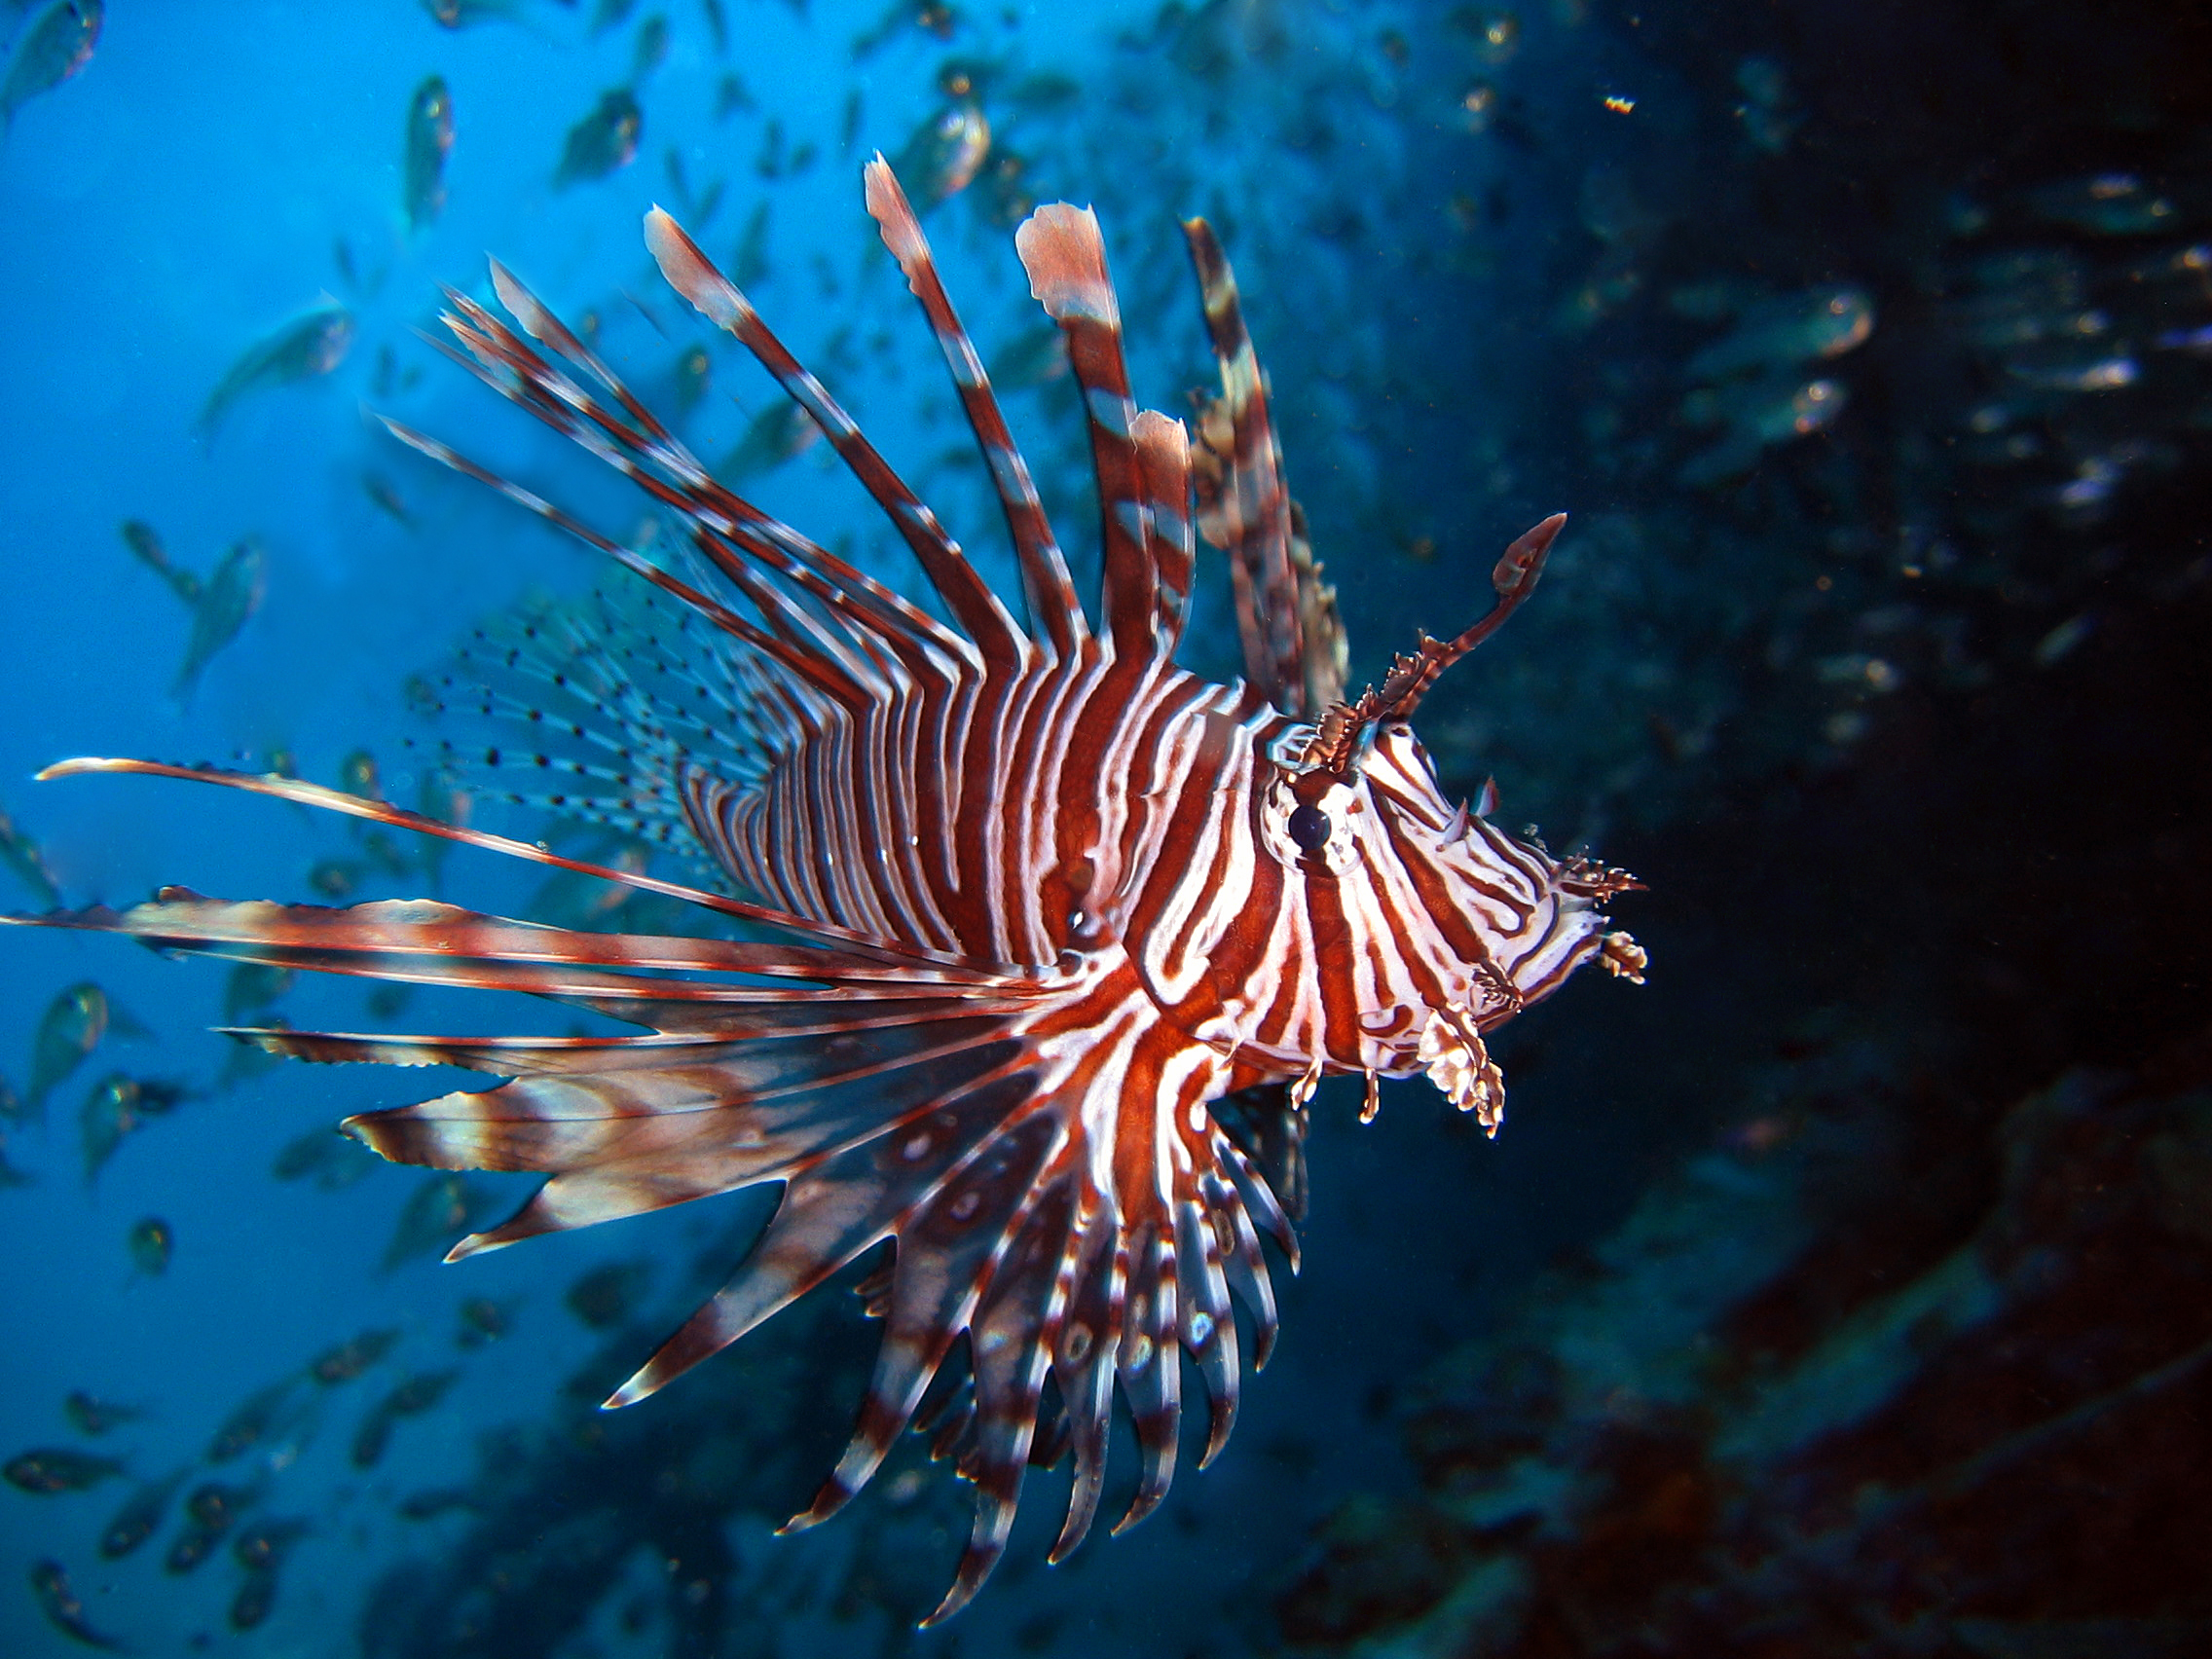
So y'all may remember this guy from last summer. I've finally had some time to work on him! His fishy features will mimic the Lion Fish.


Next up is sculpting the mane and attaching the ears. This guy will be a sales piece available through my Etsy store (which will go up live soon - I just need to get a few kinks worked out first).

Tuesday, June 3, 2014

Productivity Boost

So today I seemed to have taken a productivity pill or something. I have another layer of white sealed in on my first sales piece. I found another TB stablemate that needed a little foot TLC. I was also able to finish prepping a pony that's been sitting around for a while.
 
Group shot!
I was also able to put a little more meat on my Chincoteague pony's butt. He's next for the primer bench!


Sunday, June 1, 2014

A Few Updates


Hey all, I have a couple updates for ya! First up is my current in progress sales piece done in pigments. He's shaded very dark because he'll become a paint very soon. Keep an eye on my Etsy store (I run this store along with a friend) for him! 


Next up is a horse that I did in my art class at school. He is in the process of being prepped. Every time I think I'm done with him I find something else...as it is with all of my prepping jobs. This guy is meant to be a Chincoteague pony. He started out as the Classic Secretariat mold. 


So does anyone have any requests for how-tos? Just leave a comment to let me know.


Sunday, December 22, 2013

How I Sculpt a Tail - Hairing the Tail

So here is the continuation of my previous post on how to sculpt a tail, which covered the basics of creating a tail bone. This post will cover how to create the hair texture.

What You will Need:

  • Apoxie
  • Sculpting tools (you can use anything from a toothpick to actual tools you buy at art supplies stores for sculpting)
  • Water or Rubbing Alcohol
  • A soft paint brush
  • Your reference photos
First you will need to mix the apoxie evenly. The easiest way to do this is to create two even balls and the kneed together.

Once your apoxie is mixed you want to make a base for the the tail. You need to check out your ref picture to see how thick or thin the tail is. That dictates how thick you can make your base. Some people use painter's tape hardened with super glue and baking soda, but I find that it is to flimsy for my taste.

I usually create the base of the tail front to back
I feel that it gives it a more 3D look
The next thing you want to do is choose your sculpting tools - since the horse I'm using is around the size of a large stablemate, I'm using two toothpicks. Choose your tools according to the scale of your model.


The next thing you want to do is roll your apoxie into thin snakes. Press these snakes onto the base you built in the earlier steps. Vary the length of the snakes in order to create visual interest.


Once you have your snakes secured to your base, start making grooves in the apoxie. Start with deeper grooves, spacing them out randomly. Next start making shallow grooves, always starting from the top of the tail. Vary the lengths to create visual interest.
You may notice that there are little balls of apoxie building up. To get rid of them, and to smooth down the starkness of the hairing detail, by dipping a soft cheap paint brush into rubbing alcohol or water and brushing it up and down the length of the tail. Next brush it side to side to soften the grooves.
Let cure for 24 hours and repeat on the other side of the tail.

The finished product
Congratulations! You just finished making a tail!


Wednesday, December 18, 2013

How I Sculpt a Tail Part One - Creating the Tail Bone

So, I thought I'd show you how I sculpt a tail. This is the technique that has worked out for me multiple times.

Supplies:
  • A body model
  • Dremel (or a saw and an electric drill)
  • Apoxie (I use Magic Sculpt but I've also used Ave's Apoxie Sculpt with success. If you are just starting out, you can use jewelry apoxie that is available at Michaels)
  • Armature wire
  • Tin Foil
  • Heat Gun/ Hair Dryer
  • Baking Soda
  • Super Glue
  • References! References! References!
So I'm starting out with a horse that's missing a tail. I originally bought it with the tail at a show, but as we were traveling back home, it had an unfortunate mishap where the tail broke off and disappeared...Anyways, if you are starting out with a horse that actually has a tail start off by removing it via Dremel or saw (I recommend having someone in the room near you, especially when using a saw). If your tail is  being especially stubborn use a heat gun or hair dryer to heat the plastic. This just makes it easier to maneuver and eventually removed it from the body.


After smoothing down the inevitable rough plastic caused by the tail removal surgery with sand paper, there may be a large hole left by the tail, due to the model be hollow cast. This would be the case for most Breyer horses. The only size, that isn't like this is the Stablemates.
To fill this hole, squirt some hot glue in and stuff aluminum foil in the hole. When it is just about filled, use your apoxie to finish filling it. Let cure (usually 24 hours, but read your specific product's directions). When it is cured, drill a hole where the tailbone would be.


The next thing you want to determine is tail set. This is where your references come in. Since I'm doing an Akhal-Teke, I want it to be very low. How ever if I wanted to do an Arabian I would make the tail set much higher, especially because it is a very recognizable characteristic of the breed. 
A high set tail vs a low set tail
See the difference?

So once you've determined the set of your tail, insert some of the armature wire into the hole you've created in the last step. Bend it until you have matched the set of your reference's tail. Through out the process of sculpting the hair, this wire will act as your "tail bone."
Now is also the time to add the base of movement. Is the tail blowing gently in the wind? Is it flicking irritably at flies? Is it still? I can not stress how important references are especially if there is movement in the tail.   


Notice how I have excess wire still? I save cutting off the excess until the wire is firmly glue in the hole, just in case I change my mind about the length of the tail.
In order to secure the tail drip super glue into the hole and sprinkle a bit of baking soda on it. This immediately dries the glue and creates a strong bond (this does create a bit of heat due to it being a chemical reaction, so be careful!)

the super glue is soaking up the baking soda
 The next step is to trim the length of withe to your preference. Again - references! References! References! My ref horse does not have a very long tail, so I'm going to cut the wire right below the hock.


Congratulations! You've just created a tail bone. This post was originally going to be one whole post all about sculpting a tail, but I'm going to need to split it up in to two different posts. The next installment will be about adding the hair texture.


Tuesday, December 10, 2013

Prepping Day (or rather Prepping Night)

 
Hallo lovelies! Sorry I haven't posted in a while! School is always crazy the first two quarters. So now that I have a brief break due to midterms (blech) I'm having a prepping night at my sculpting class! Woo!
The (willing) victims

The first up is an old Secretariat classic resculpted to a Chincoteague pony who had an unfortunate run in with a bad can of primer.


The next is the new Black Beauty classic model, who has just been sitting around in my body box.


And finally is the little foalie that had primer issues earlier.


So in the end I was able to sand off most of the bad primer for the resculpt


The classic got resculpted feet and was sanded a bit
 
 
And I sanded off the spiderwebed primer off of the foalie

 
Keep an eye out on my blog an my Etsy page for an upcoming sales piece!


Friday, July 12, 2013

My Journey into Resculpting - Finishing the Tail

So when I last left you I was letting the tail firm up before sculpting the other sides. But even as it was drying, I started disliking it more and more. The tail bone was too thick for my taste, and I didn't like how the tail was flagged. So I decided to redo the tail with a different set.


I let that sit over night to fully cure and started sculpting the hair of the tail.

Almost done with the front side

Done!
Then I noticed that one of the hooves was raised off the ground. I did a couple tests, setting the horse on the table tail and all, that had the hoof raised, and then set it on the table with the tail hanging off the table. That test revealed the problem - the tail was to long! So I took my trusty Dremel and cut about an inch and a half of the tail off. I fixed some of the hairs that had been distorted and finally the tail was done! Phew!


Next, I'm moving on to the mane, and fixing the feathers that were damaged when I cut off part of the tail.

Thursday, July 11, 2013

More about my Journey into Resculpting - Ears and Tail

So after the apoxie firmed up, I attached the ears (sculpted by Kristian) to the horse. Unfortunately the horse fell over a couple times, so there was a lot of reattaching of the ears.

Finally attached!
Next I drilled a hole for the wire for the tail bone. After I super glued it in, I built a base out of apoxie and let it dry overnight.


Looking it over I realized I had to thin out the tail bone and add more fat to the chest.


I sanded the tail bone down a little more and started sculpting the hair of the tail.

One side down 3 to go!
In the next post, I'll show you the finished tail and move on to how I do the mane.


Wednesday, July 10, 2013

My Journey into Resculpting


 So today I decided to start a resculpt of Seabiscuit to a Welsh pony. I have very little experience in resculpting so do enjoy the bumpy ride it's bound to be!

The victim
The reference 

I started off by cutting off the ears, tail, and mane. Then I started to fatten him up!


Well now I have to wait for the apoxie to firm up, I use Magic Sculpt, next is attaching the ears, and sculpting  the mane and tail. Oh and Kristian Beverly of Five Paws Studio is now my sculpting guru :-)


Sunday, July 15, 2012

How to Make Chestnuts (not the type you eat)

Chestnuts or Night Eyes "vary in size and shape and are sometimes compared to the fingerprints in humans.[1] For purposes of identification some breed registriesrequire photographs of them among other individual characteristics.[1] However, because chestnuts grow over time and horse grooms often peel or trim off the outer layers for neatness, their appearance is subject to change."  
You will need a nearly prepped horse, modeling paste, toothpicks and a reference picture. 

This is a chestnut on the front leg-


In order to make a chestnut you take your modeling paste on the tooth pick and apply it to your horse's leg-


Make sure to use a reference picture to determine correct placement! It should turn out similar to this (chestnuts are circled in blue)

hind leg

front leg
 As a side note make sure you close your modeling paste up as soon as your done with it! It dries extremely quickly.