Monday, August 20, 2012

What I've been up too

ACK! Sorry I haven't been posting lately! I've been very busy lately. New customs, school stuff, making decorations for my room, a new dog, and preparing for a show (South Jersey Classic) has kept me away from my blog.

First I'll show you my new dog Toby the Chiweenie (Chihuahua x Dachshund)

Isn't he cute?
 I've also been working on a few customs- a breyer stablemate pony being turned to a leopard appaloosa and a breyer stablemate thoroughbred being painted a dark bay.


Schools starting soon so I've been working on customizing some of my supplies.

A planner to keep myself organised. Spray painted gold with a painted on Great Horned Owl silhouette along with the Chinese symbol for Wisdom/Knowledge 

A purse charm.
And finally I was at South Jersey Classic showing off my tack set made by Kristian Beverly of Five Paws Studio.

Side view of set in pole bending class

Front view along with the winter trail set up I made.
Oh one more pic of the cute puppy


Friday, July 20, 2012

Off to BreyerFest!

Wooo! Its begun! I'll be at several workshops today so expect pics tonight!!!!

Sunday, July 15, 2012

How to Make Chestnuts (not the type you eat)

Chestnuts or Night Eyes "vary in size and shape and are sometimes compared to the fingerprints in humans.[1] For purposes of identification some breed registriesrequire photographs of them among other individual characteristics.[1] However, because chestnuts grow over time and horse grooms often peel or trim off the outer layers for neatness, their appearance is subject to change."  
You will need a nearly prepped horse, modeling paste, toothpicks and a reference picture. 

This is a chestnut on the front leg-


In order to make a chestnut you take your modeling paste on the tooth pick and apply it to your horse's leg-


Make sure to use a reference picture to determine correct placement! It should turn out similar to this (chestnuts are circled in blue)

hind leg

front leg
 As a side note make sure you close your modeling paste up as soon as your done with it! It dries extremely quickly.

Saturday, July 14, 2012

How to Paint Shell Hooves

So after a long day of horse fun with my friend Kristian of Five Paws Studio I have decided to do a tutorial on how to do shell hooves. You need 1) Flesh Tone acrylic 2) White acrylic 3) Burnt Umber acrylic 4) Burnt Sienna acrylic

First you paint the hooves flesh tone


As you let that dry mix together 1 part burnt umber, 1 part white, to 2 parts flesh tone. This should be only a few shades darker than the original flesh tone color.


Paint the mixture on the hooves, don't worry if you don't paint all of the hoof. It should look similar to this-


Next paint the hoof with thinned down white, then stripe it with thinned down flesh tone and burnt sienna. Wash, rinse, and repeat until you achieve your desired striping affect. Next you'll take thinned burnt umber to do the vertical striping. It should look something like this-


Detailed hooves can make or break a custom in some cases. I hope this how-to helped you with this.


How I Airbrush a Chestnut part 2

What you will need 1) Black pastel 2) Burnt Sienna pastel 3) Burnt Umber pastel 4) White acrylic 5) Paint Brush

First lets go over shading -- I have yet to figure out how to properly shade with an airbrush, so as I try different techniques I use a mixture of different color pastels to shade. I mix together black, burnt sienna, and burnt umber pastel in a cup. Then I choose which muscles to define -- this is a personal preference of mine, you can define all muscles if you'd like.

It should start out like this-

And after you shade it should look like this-


 Now since your using pastel make sure to seal with acrylic sealer- I use Krylon.

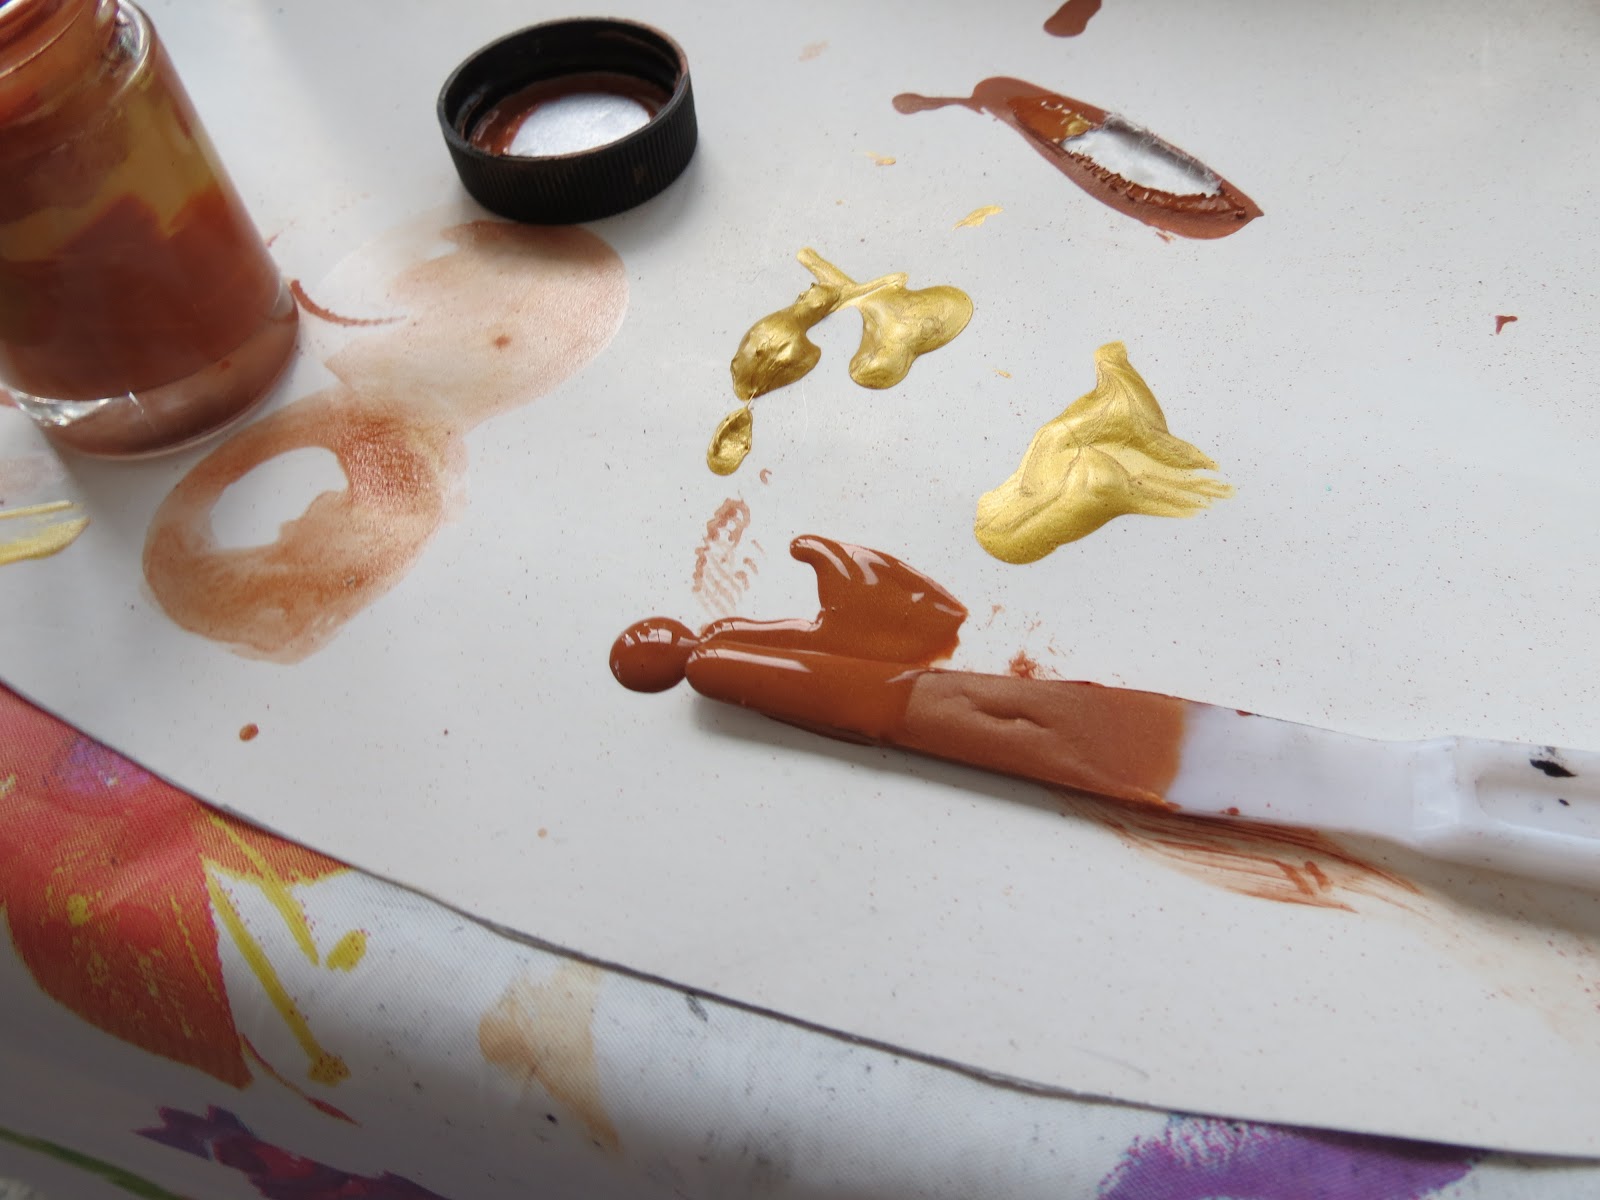
Lets go over white markings- I like to use artist quality brushes and paint. The brushes are less likely to leave brushstrokes and hair in the paint. The paint has more pigment in them so when you thin the paint down you get more color.

You should thin the paint down to the consistency of skim milk, when you lay the paint down you should still be able to see the color through the white.


After this you keep painting layers of white until it is solid and has no visible brush strokes.

after about 10 more layers of white
You don't need to seal between each layer unless you feel the layer before it pulling. After your done with the white all you have to do is the mane/tail, hooves, and eyes.

I will cover how to do the mane/tail, hooves, and eyes in separate posts. If you have any tips on the content covered here feel free to comment in the comment section.

Friday, July 13, 2012

Whats New?

Yay! Only six more days until BreyerFest!! I'm almost done with my preparations, I just have to make tags and cards, finalize my class list, and then pack. I've also been working on a few things -- so lets get started!

First up is one that is almost done -- A chestnut pinto American Saddlebred (who is also being used in my tutorial 'How I Airbrush a Chestnut')

This guy needs more layers of white, and then I will begin detailing the horse (mane/tail, eyes, and hooves), after he is done he will be up for sale.

The next one is a pacer that is still in the process of prepping-


There are a few more things I need to do before he is ready to paint.

The next two are collaborations with Kristian Beverly of Five Paws Studios. She re-sculpts and I paint

English Pony

Western Horse

They both still need some prepping so keep an eye out for them!

Wednesday, July 11, 2012

How I Airbrush a Chestnut part 1

Hi all! Have you ever wondered how to airbrush a red chestnut? Here is how I do it (there are probably a hundred more ways to do this, but this is the easiest way for me).
Here is what you need 1) a prepped horse 2) an airbrush (I use the badger brand) 3) compressor/air cans  4) Burnt Sienna acrylic paint 5) Metallic Gold acrylic paint 6) Liquitex Airbrush Medium (you can also use water)


Start out with a nicely prepped horse, in this case my in progress sales piece American Saddlebred Breyer Stablemate.

having a turntable that is usually used for cakes is very helpful too


Mix together equal parts the Burnt Sienna and Metallic Gold in your airbrushing jar, it should fill about 3/4ths of the jar.

black line is where paint should stop


Fill the the jar the rest of the way with the Liqutex Airbrush medium, and mix with the paint. It should have a consistency of  Heavy Whipping Cream.
what the bottle looks like


I find the metallic make the color glow


Airbrush one or two coats, and seal

your coat color is done!


Part 2 will be up in a couple days-it will cover how I do my shading, whites, and detailing.

Thursday, July 5, 2012

Guess what? I have a blog!

Hello all! I will mostly be using this blog to show off my in progress pieces. I will sometimes post tips and tricks as well. Enjoy!
My custom for BreyerFest