Showing posts with label Other Fun How-Tos. Show all posts

Sunday, September 11, 2016

Digital Pointillism Tutorial

For this tutorial I used Adobe Illustrator, but you could use any comparable program to achieve the same effect. I have my color settings set to RGB, because I intend to put this up on Society6. Illustrator automatically sets to CMYK. I would also like to mention that I am using my trackpad to draw all of this, I am not using anything like a Wacom tablet.

The first step is to choose the size of your canvas and your reference picture. My canvas is fairly large (3300 x 5100) because of how Society6 works. My reference photo is a picture of Ken that I took at this year's Pony Penning. My canvas size required me to scale up the picture. 


The next step is to trace your image. It doesn't have to be perfect or pretty. It will serve as a roadmap of where you are going to place your dots.


Next, you're going to color sample the section you want to start with, with the eyedropper tool (pictured right). This color will usually show up in the fill box which is the box which is completely filled with the color. You're going to want to switch that color into the stroke. You can either do this manually by clicking the arrow by the fill and stroke icons, or let the brush tool do it automatically.  
After you switch the color to the stroke, you are going to want to select the brush tool. This is what you are going be using to create your marks.


the color is in the stroke

I usually start with the 15pt brush and mark out a vague section of where I'm going to place the color. This also helps me pace myself. Getting a small section finished seems a lot easier than the entirety of the subject's face.


I then scale down to the 5pt brush to fill in some of the spaces. I also feather out these smaller marks to prepare for blending the different colors together. 


Repeat the steps above for the next color. Remember to intersperse the second color into the first for a blended effect

Sometimes, depending on the lighting of your reference, the eyedropper tool will give you some very dark colors. Depending on how light the other colors are in your piece, this may look very odd. If that is the case, take the lighter color and intersperse it throughout the darker color. Make sure to zoom out to make sure that this helped to blend the colors together.


When you get close to finishing your piece, you are going to want to decide how to finish the piece. I'm personally a fan of letting the subject dissolve into dots.


When you are finished, delete your guideline. You're finished!

Wednesday, June 8, 2016

Creating References for Fantasy Art

For the past couple of weeks, I have been working on recreating my drawing final in oils. I'm nearing the final detailing phase and that means creating more references and taking photos. 


I started out with a shoebox lid and kinetic sand. I added in the glass beads that I used in the diorama that created the stone structures. I used the beads to form the altar-like structure in my painting that the runic markings would surround.
I chose kinetic sand because it's reusable and easy to clean up. Plus you can get it in different colors (they have glitter!) if you have trouble visualizing what your eventual piece will look like in the end when using the natural color that I've used. And it's fun to play with too.


I carved the runic markings in the sand using an Xacto knife. There was a bit of a learning curve when it came to writing in the sand - it kept collapsing in on itself the first couple of times I tried. I eventually got the hang of it and was able to get the runes to where I wanted them.


The next step was to take as many reference photos it took for me to be satisfied. It turned out to be around fifteen this time. Taking that many photos allows you to play around with composition and to see what reads the best. The pictures below show how different angles of the same object can change how you perceive it.


If you are creating a fantasy art piece (especially landscapes) I highly recommend building a diorama of your space before you start drawing. It helps transfer an image in your head into something more concrete. Having something concrete to draw from helps keep you organized while drawing. Once you have to basic structures down, you can always abstract them and make it your own.

Sunday, June 2, 2013

DIY Greek Goddess Costume


Hello again! I know its now where near Halloween, but a friend of mine threw a birthday/end of the school year masquerade and I figured I would share how I did it! First my supplies list -

  • a blank mask
  • sculpy/apoxie/and type of clay
  • silver spray paint
  • green glitter 
  • glow in the dark glitter
  • long/short flowy dress in silver or green 
  • gladiator sandals or shoes of your choice
  • optional to customize your dress:
    • glittery add ons
    • ribbon
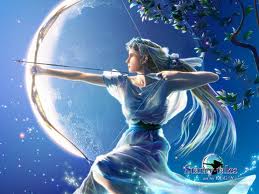
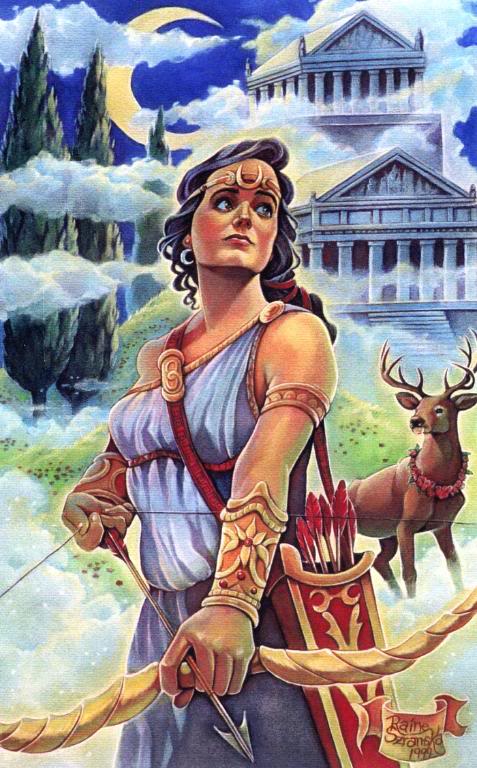
The Greek goddess I'm going as is Artemis, goddess of the hunt, animals, and moon (she is the goddess of many other things to but theses are the things I based my mask off of). The first thing I did was search for pictures to inspire me - these are a few I found:


Some of the elements that I wanted to put in my mask was the silver, green, moon, and stag. So I went off to Adobe Illustrator (you could use anything to do this step or skip it completely) to do some potential designs. My final design was this -


Next I got down to actually making the mask. Unfortunately I didn't take pictures of the steps I took, but first I sculpted a half moon out of sculpy, dried it, and super glued it to the mask. Next I spray painted it silver and drew on the outlines of the animals. Then I painted the outlines in metallic green and added glitter. Annd I'm done! Whoo! Here is the finished product -  


The next thing to do is find a dress - you don't need anything fancy, you can even get a dress from a thrift shop! I got a a dress from Ross that just needed a little tweaking to get it just right.


The dress is a dark greyish green. The one thing I didn't like was the waste band so I'm adding silver ribbon. It also has a little peak-a-boo hole right above my chest and I'm adding the glittery stone inside it.
Next is the hair - I drew inspiration from Daenerys Targaryen from the show Game of Thrones.

Shout out to my mom for adapting the look to my short hair!


The final look:

sorry for the lack of mask, all the pics I have with the mask on
are crappy.